Most broken connector tabs and slipped hose clamps in a Mercedes engine bay come from two habits: pulling before the lock is fully released, and gripping the part with a tool that pinches one corner of it. Release first and hold the part flat, and an air filter, a breather hose, or a sensor swap behind the engine cover stops being a gamble.
Why do connector tabs break and clamp ears slip in a Mercedes engine bay?
Tabs break because the plastic has aged and the load goes into the wrong place; clamp ears slip because a jaw that meets only at its tips holds them on two points.
A locking tab is a small plastic beam, designed to bend straight down and spring back. It is not designed to take a twist. Rock the plug side to side while the tab is half pressed, or pull on the wires, and the load goes across the beam at its root, which is exactly where it cracks.
Heat does the rest. Connector housings and clips sit inches from a hot cylinder head, and every drive cycle bakes a little more flexibility out of them. By ten years old, the same tab bends far less before it snaps. Cold makes it worse, so a winter morning on a stone-cold engine is the worst time to start unplugging sensors. Let the bay come up to room temperature, or do the job after a short drive once the cover is cool enough to touch.
A clamp ear is a short, flat tang. A pair of jaws that only meet at the tips holds it on two points, slides off under load, and gouges the hose or your knuckle on the way.
How do you disconnect an electrical connector without breaking the tab?
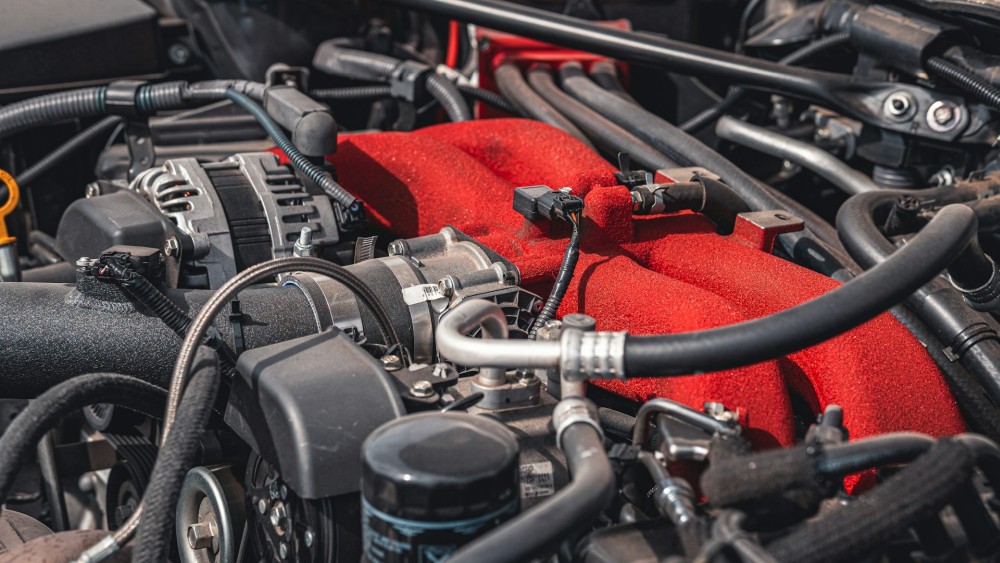
Release the secondary lock first, push the two halves together, press the main tab all the way down, and then pull straight back on the connector body. Done in that order, almost every plug in the bay comes apart by hand. Here is how to do it:
- Look before you touch. Take a photo of the connector, then find the latch. Mercedes sensor plugs use a mix of single press-tabs, tabs on both sides, and sliders, and they are not interchangeable. Sixty seconds with a flashlight saves a cracked housing.
- Find the secondary lock. Many plugs carry a small slider, often red or gray, that sits under or across the main latch. It is a connector position assurance lock, a second catch that only moves once the plug is fully mated and that blocks the main latch until it is slid back (source). If the tab will not press, this is nearly always why.
- Push in before you pull out. Press the two halves together a fraction. The latch hook unloads and the tab moves freely.
- Press the tab fully, then pull on the body. Hold the tab down with a thumbnail or a small flat pick and pull the housing straight back, in line with the pins. Pull on the connector itself, never on the wires; yanking the wires out of the housing is how you end up re-pinning a plug (source).
- If it is stuck, lubricate the seal. Weatherproof plugs have a rubber gasket that ages into glue. One drop of silicone spray on a cotton swab, run around the joint, a minute’s wait, and a gentle twist of the body usually frees it. Go easy, because oil on the housing makes it harder to hold.
- Reseat with the lock. Push the plug on until the latch clicks, then slide the secondary lock back into place. A plug that is on but not locked walks off with vibration and gives you an intermittent fault months later.
Small vacuum and breather hoses on push-fit barbs follow the same logic: twist the hose a quarter turn to break the seal before you pull, and pull by the hose end.
How do you remove a spring hose clamp in a tight spot?
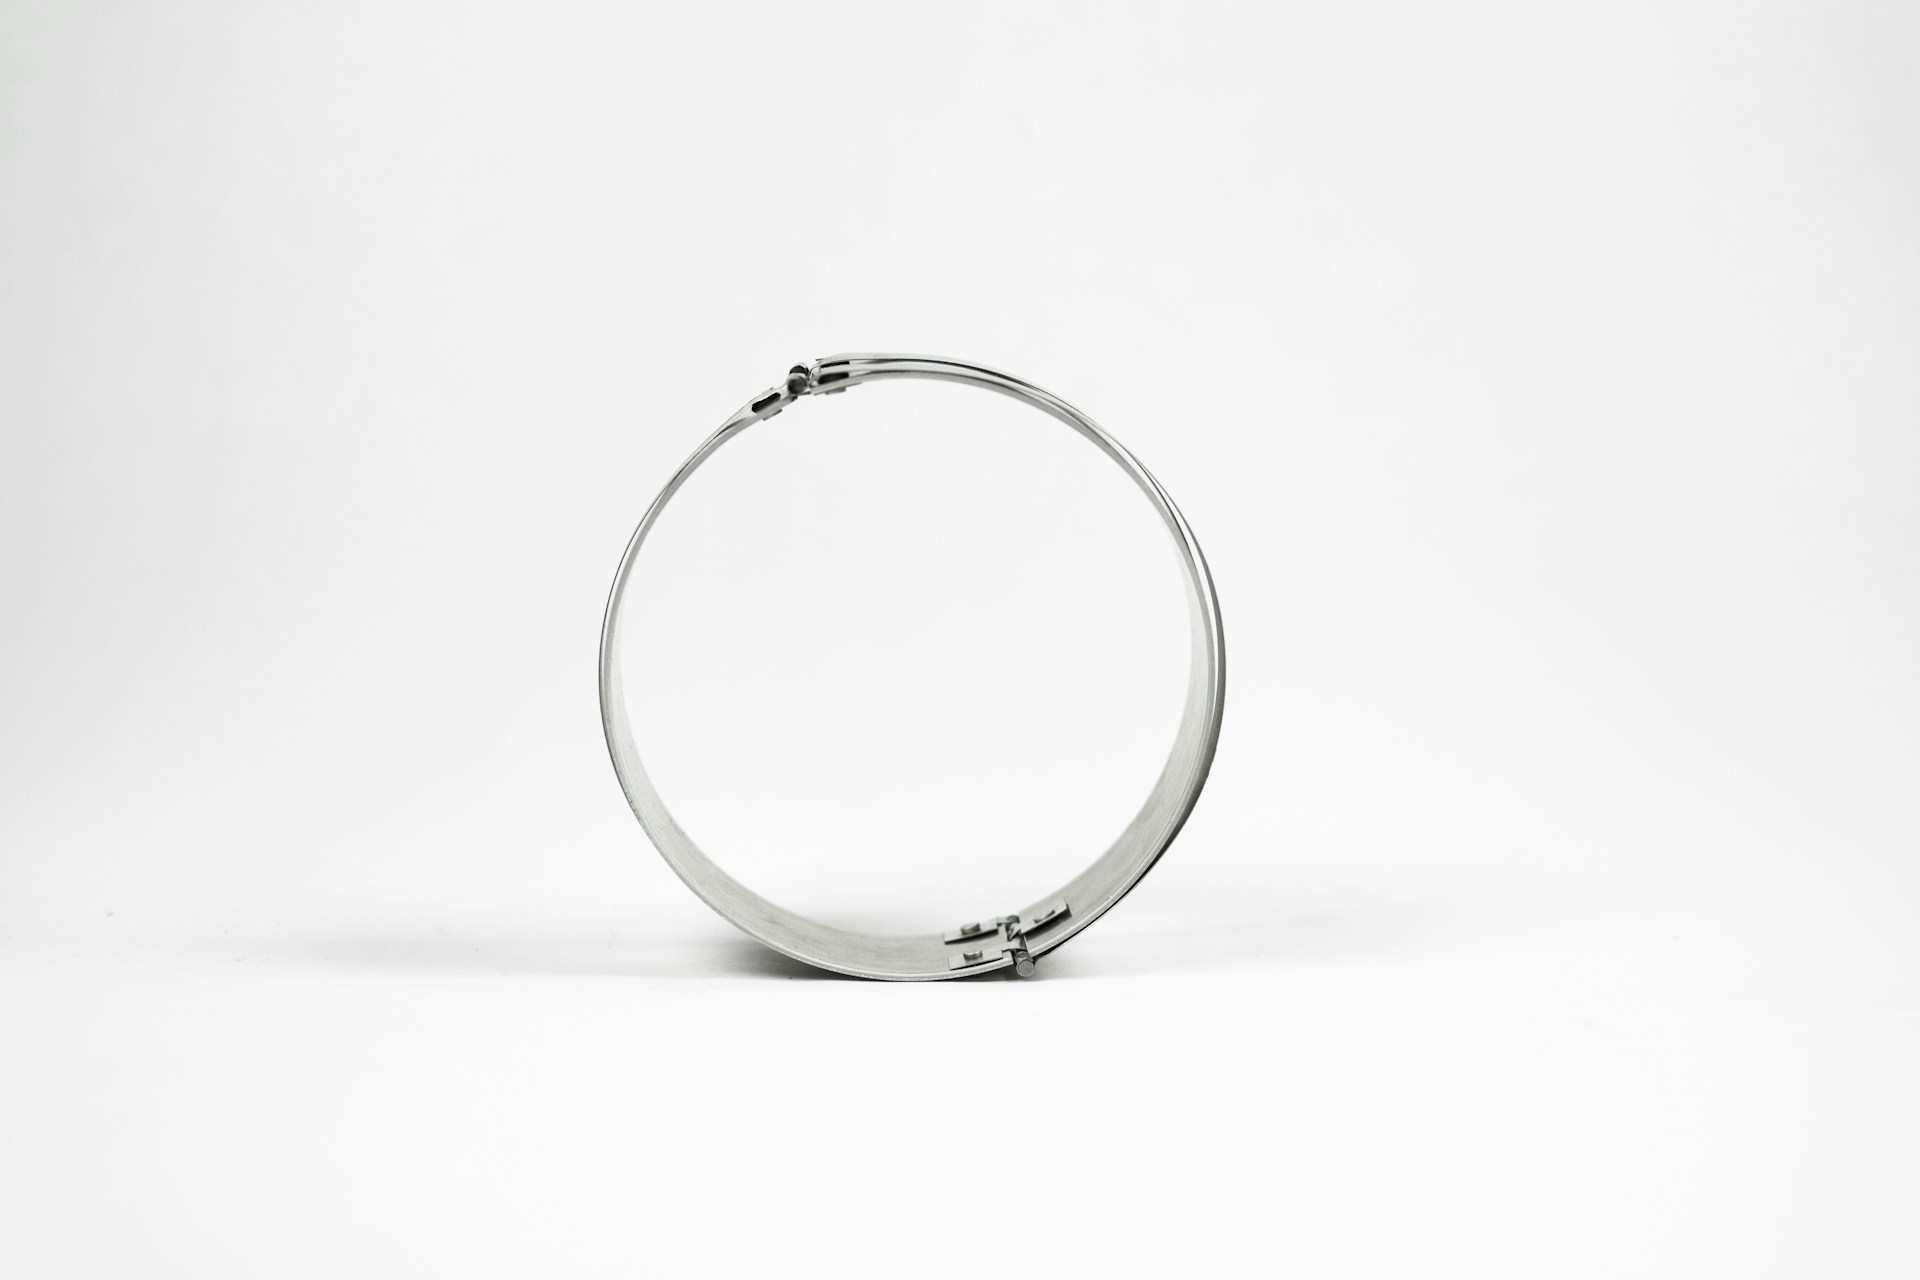
Grip both ears of the clamp square, squeeze them until they touch, slide the open clamp back up the hose, then twist the hose off its fitting. Once the ears meet, the clamp is doing nothing, so the rest of the job is holding it open while your other hand works.
- Find the ears and the room around them. Rotate the clamp on the hose if you can, so the ears face the widest gap in the bay. Coolant, breather, and small vacuum hoses on most Mercedes engines use these constant-tension clamps, and the ears are often tucked against a bracket.
- Seat the ears deep in the jaws. Get the whole jaw face onto the tang, so the grip runs along the ear and the ears cannot roll out when you squeeze.
- Squeeze until the ears touch, then slide. Walk the clamp two or three inches back along the hose, past the ridge of the fitting.
- Hold it open if you need both hands. A zip tie cinched around the squeezed ears keeps the clamp open; cut it once the hose is back on and the clamp is sitting in its original mark.
- Twist the hose free. A quarter turn each way cracks the seal, where a straight pull on an old hose tears it at the fitting.
Refit the original spring clamp. It is a self-tensioning fastener that holds a near-constant contact pressure as the hose and the fitting expand, contract, and take a set with temperature (source). A worm-drive screw clamp has no spring take-up, so it can work loose as the hose takes a set over heat cycles, which is where many coolant weeps start.
Which pliers hold a spring clamp ear in a tight engine bay?
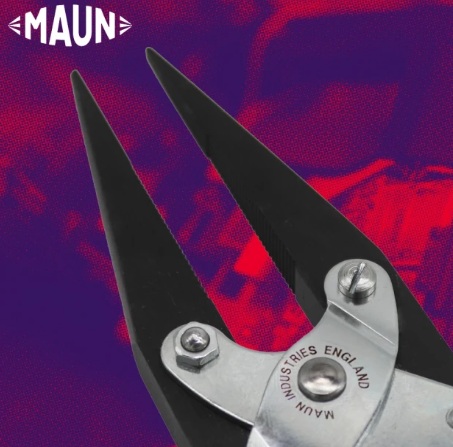
Long nose pliers with flat parallel jaws hold a spring clamp ear square in a tight engine bay better than normal pliers. A standard scissor-action pair pinches the ear on two points and slips off it. One point in the Maun long pliers guide, from a British plier maker in business since 1944, explains the difference: a scissor-action pair opens in a V, so its jaws need more room than the ear they are reaching for, while parallel jaws close flat around the ear and take up little more width than the ear itself.
Maun’s long nose pliers are parallel-action: the two jaws stay parallel all the way from open to shut, so the full face of the jaw sits on the ear and holds it square. The 200 mm pair reaches the clamps behind the intake; the 160 mm pair suits the connectors in front of it. They cost more than a bargain pair, about $55 to $70 (£42 to £52 on the maker’s UK site), but the jaws do not skate off a greasy ear over an open coolant hose.
What about the plastic clips on the air box, intake ducts, and splash shields?
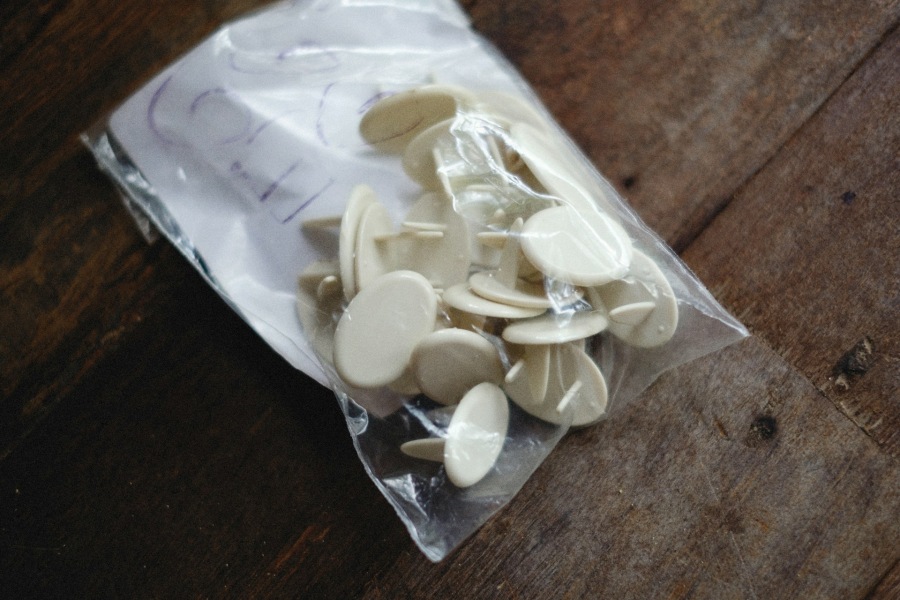
Lift the center pin first, then the sleeve, and never lever the sleeve out with the pin still in. The engine cover itself is the exception: on most Mercedes engines it pulls straight up off rubber grommets on ball studs, so lift it at the corners by hand and keep tools away from it. The push-pin rivets are on the air box snorkel, the intake ducting, the splash shields, and the trim panels: a plastic sleeve that a center pin expands to lock. With the pin in, the sleeve is locked and will shear before it pulls out.
- Check the head, then pop the center pin up a few millimeters with a trim tool or the tip of a small flat screwdriver under the pin head only. A pin standing proud pries up; a pin sitting flush with a dimple in it pushes in to release instead, and prying that type snaps the head.
- Grip the pin head flat and draw it out the rest of the way. Hold the head across its full width and it comes straight; pinch it at a point and it snaps.
- Lift the sleeve by its flange with the trim tool. If it cracks, replace it. A bag of clips in the right diameter costs a few dollars and lives in the glove box.
When should you stop and replace the part instead?
Stop and replace when the plastic has already cracked, when a clamp has rusted or lost its spring, or when a tab is missing. Forcing a damaged part back on wastes the time you saved getting it off.
- A connector with a cracked housing or a snapped tab: fit a pigtail repair kit, a new housing pre-wired with a short harness that splices in with heat-shrink crimps. A zip tie around the joint holds today and lets the plug walk off under vibration next month.
- A spring clamp that is rusted, bent, or no longer snaps shut with force: replace it with a new spring clamp of the same diameter, so the seal keeps its tension as the hose ages.
- A push-pin clip that has cracked: replace it; a cracked one rattles the panel loose.
Frequently Asked Questions
How do you remove electrical connectors on a car without a special tool?
Slide the secondary lock back, push the halves together, press the tab fully with a thumbnail or a small flat pick, and pull the body straight off. Most plugs need no special tool, only the lock released first and the pull in line with the pins.
What is the best tool for removing automotive electrical connectors?
A small flat pick or trim tool for the latch, and a pair of long nose pliers with flat parallel jaws for holding the housing without crushing it. Dedicated connector-release tools exist for plugs with recessed tabs, but on a typical Mercedes sensor plug they are rarely needed.
How do you loosen a spring hose clamp without hose clamp pliers?
Grip both ears with any pliers that hold them flat, squeeze until the ears touch, and slide the clamp up the hose. A zip tie around the squeezed ears holds it open if you need both hands. Hose clamp pliers are worth buying for two cases: the cable-operated type for clamps you cannot reach, and the ratchet-lock type if you want a hands-free hold. For every clamp within reach, flat parallel jaws do the job.
Can you reuse a spring hose clamp?
Yes, as long as it still snaps shut with force and shows no rust or distortion. Spring clamps are made to be released and refitted, and they keep their tension through repeated heat cycles, which is the reason the factory fitted them.
Final Takeaways
Release the lock, push in, press, then pull on the body. Squeeze clamp ears flat, slide, then twist the hose off. Let the bay warm to room temperature before you start, and refit the spring clamps. Most broken tabs are an order-of-operations problem, not a strength problem, and the few that break anyway cost a few dollars in clips or a pigtail to put right.